wplj で MySql を使えるようにする。参考にしたのは過去のエントリ。
cf. UbuntuにMySqlをインストール – blog.panicblanket.com
cf. phpMyAdminをインストール – blog.panicblanket.com
MySqlのインストール
takatoh@wplj $ sudo apt install mysql-server
途中で root ユーザのパスワードの入力を促される(2回)ので、入力。
バージョンの確認。
takatoh@wplj $ mysql --version
mysql  Ver 14.14 Distrib 5.7.17, for Linux (x86_64) using  EditLine wrapper
設定ファイルを編集
/etc/mysql に移動して、my.cnf を編集する。一応バックアップをとっておく。
takatoh@wplj $ cd /etc/mysql
takatoh@wplj $ ls
conf.d        debian.cnf  my.cnf.fallback  mysql.conf.d
debian-start  my.cnf      mysql.cnf
takatoh@wplj $ sudo cp my.cnf my.cnf.orig
で、以下を追記。
[client]
default-character-set = utf8

[mysqld]
skip-character-set-client-handshake
character-set-server = utf8
collation-server = utf8_general_ci
init-connect = SET NAMES utf8
MySqlを再起動して動作確認
再起動。
takatoh@wplj $ sudo service mysql restart
ログインして、ステータスを確認。
takatoh@wplj $ mysql -u root -p
Enter password:
Welcome to the MySQL monitor.  Commands end with ; or \g.
Your MySQL connection id is 4
Server version: 5.7.17-0ubuntu0.16.04.1 (Ubuntu)

Copyright (c) 2000, 2016, Oracle and/or its affiliates. All rights reserved.

Oracle is a registered trademark of Oracle Corporation and/or its
affiliates. Other names may be trademarks of their respective
owners.

Type 'help;' or '\h' for help. Type '\c' to clear the current input statement.

mysql> status
--------------
mysql  Ver 14.14 Distrib 5.7.17, for Linux (x86_64) using  EditLine wrapper

Connection id:		4
Current database:
Current user:		root@localhost
SSL:			Not in use
Current pager:		stdout
Using outfile:		''
Using delimiter:	;
Server version:		5.7.17-0ubuntu0.16.04.1 (Ubuntu)
Protocol version:	10
Connection:		Localhost via UNIX socket
Server characterset:	utf8
Db     characterset:	utf8
Client characterset:	utf8
Conn.  characterset:	utf8
UNIX socket:		/var/run/mysqld/mysqld.sock
Uptime:			55 sec

Threads: 1  Questions: 6  Slow queries: 0  Opens: 107  Flush tables: 1  Open tables: 26  Queries per second avg: 0.109
--------------
大丈夫そうかな。プロセスも確認してみる。
takatoh@wplj $ ps aux | grep mysqld
mysql    14000  0.2  3.5 1236388 139200 ?      Ssl  13:41   0:00 /usr/sbin/mysqld
takatoh  14055  0.0  0.0  15256   936 pts/20   S+   13:43   0:00 grep --color=auto mysqld
phpMyAdminのインストール
takatoh@wplj $ sudo apt install phpmyadmin
インストールの途中で設定する Web サーバを訊いてくるけど、Apache2 と Lighttpd しか選択肢がないので、 ESC キーを押して続行。しばらくして「phpmyadmin 用のデータベースを dbconfig-common で設定しますか?」と訊かれるので「はい」を選択。phpmyadmin 用のパスワードを入力。
これでインストールは完了。
/usr/share/phpmyadmin から /var/www/html/phpmyadmin にリンクを張る。
takatoh@wplj $ ls -l /var/www/html
合計 8
-rw-r--r-- 1 root root 612 2月 24 21:19 index.nginx-debian.html
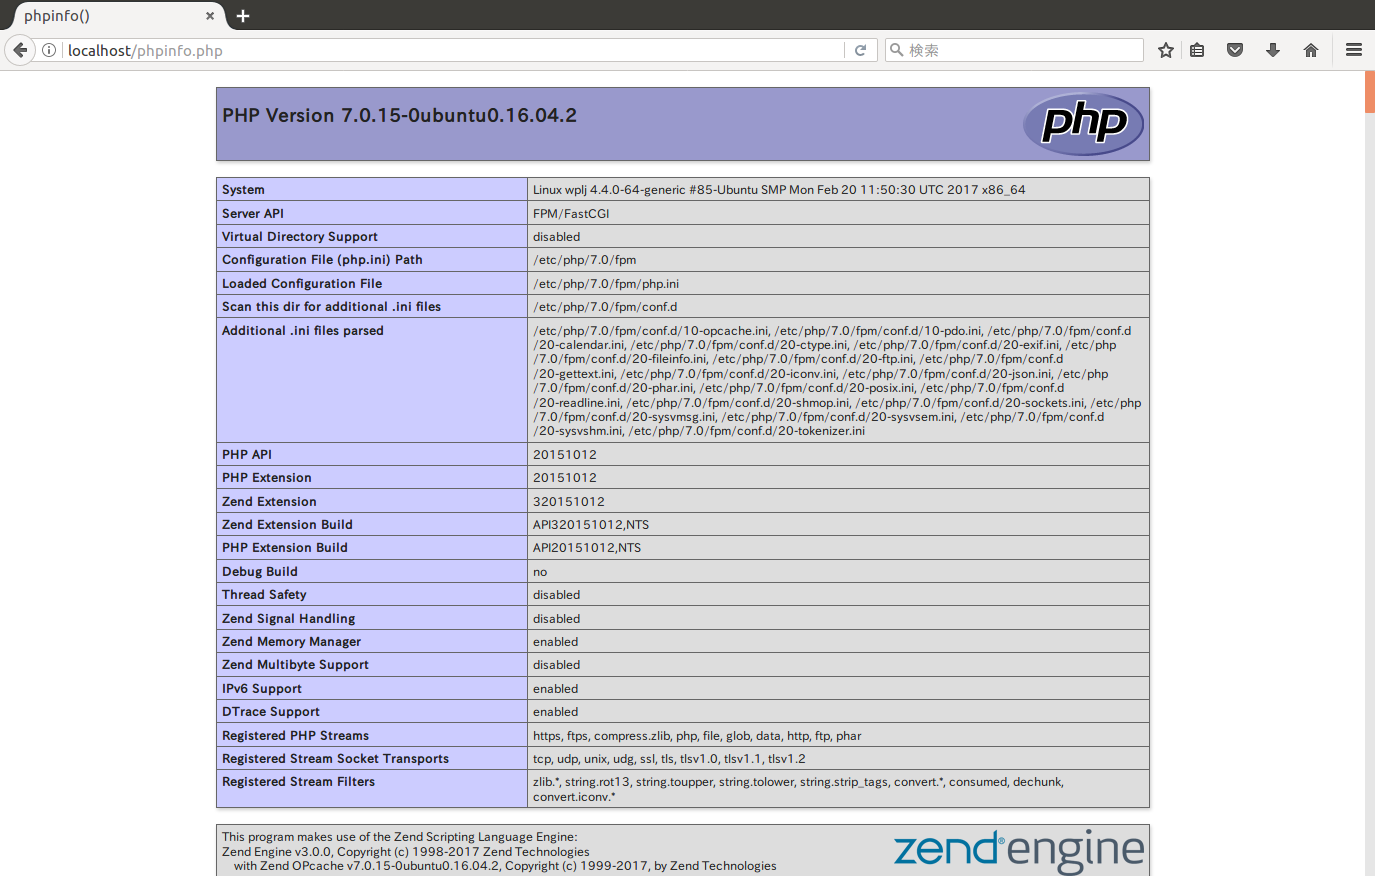
-rw-r--r-- 1 root root 23 2月 25 17:16 phpinfo.php
takatoh@wplj $ ls -l /usr/share | grep phpmyadmin
drwxr-xr-x 10 root root 4096 2月 26 13:46 phpmyadmin
takatoh@wplj $ sudo ln -s /usr/share/phpmyadmin /var/www/html
takatoh@wplj $ ls -l /var/www/html
合計 8
-rw-r--r-- 1 root root 612 2月 24 21:19 index.nginx-debian.html
-rw-r--r-- 1 root root 23 2月 25 17:16 phpinfo.php
lrwxrwxrwx 1 root root 21 2月 26 13:53 phpmyadmin -> /usr/share/phpmyadmin
動作確認
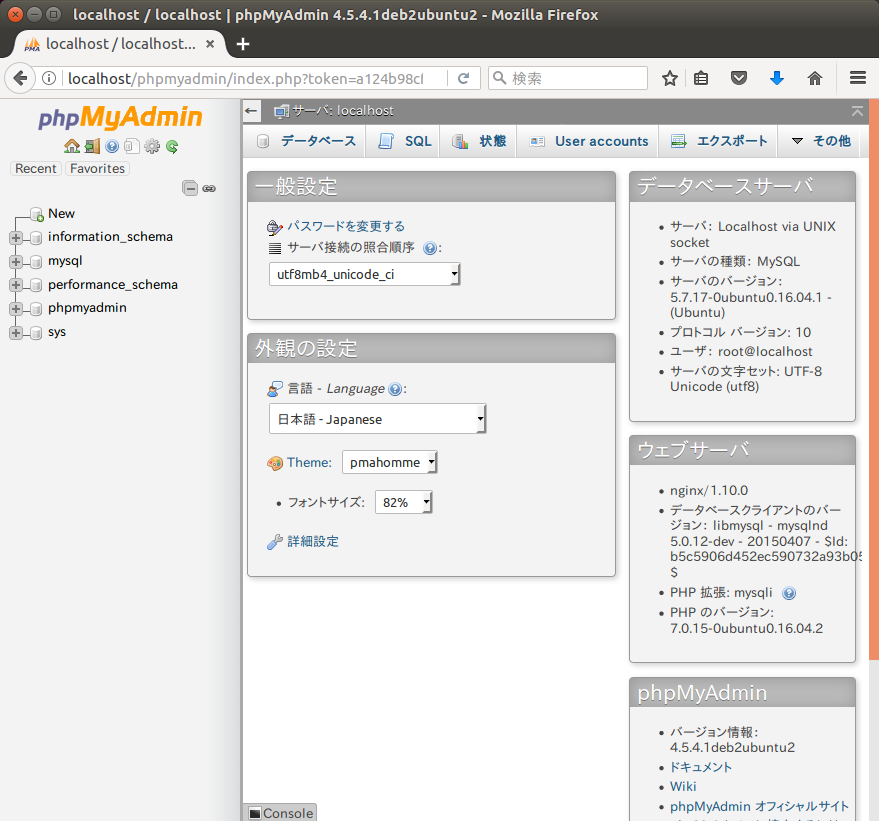
http://localhost/phpmyadmin にログインしたところ。
良さそうだ。