blog.lathercraft.net
WordPress は blog.lathercraft.net で動かすつもりなので、まずは昨日作った、www.lathercraft.net 用の設定ファイルをコピー。
[root@www2465uo takatoh]# cp /etc/nginx/conf.d/www.lathercraft.net.conf /etc/nginx/conf.d/blog.lathercraft.net.conf
コピーした blog.lathercraft.net.conf を編集して、サーバー名に当たるところを blog.lathercraft.net に、root を /var/www/wordpress に書き換える。
でもって Nginx を再起動。
[root@www2465uo takatoh]# service nginx restart
nginx: [warn] conflicting server name "www.lathercraft.net" on 0.0.0.0:80, ignored
nginx を停止中:                                            [  OK  ]
nginx を起動中: nginx: [warn] conflicting server name "www.lathercraft.net" on 0.0.0.0:80, ignored
                                                           [  OK  ]
これで、blog.lathercraft.net にアクセスできるようになった。
WordPressをダウンロード
/var/www/wordpress にインストールすることにしたので、まずはディレクトリを作って移動する。
[root@www2465uo takatoh]# cd /var/www
[root@www2465uo www]# ls
cgi-bin  error  html  icons
[root@www2465uo www]# mkdir wordpress
[root@www2465uo www]# ls
cgi-bin  error  html  icons  wordpress
[root@www2465uo www]# cd wordpress
[root@www2465uo wordpress]# pwd
/var/www/wordpress
日本語版の公式サイトから最新版をダウンロード。
[root@www2465uo wordpress]# wget http://ja.wordpress.org/wordpress-3.9.2-ja.zip
--2014-08-10 12:07:50--  http://ja.wordpress.org/wordpress-3.9.2-ja.zip
ja.wordpress.org をDNSに問いあわせています... 66.155.40.249, 66.155.40.250
ja.wordpress.org|66.155.40.249|:80 に接続しています... 接続しました。
HTTP による接続要求を送信しました、応答を待っています... 200 OK
長さ: 6802737 (6.5M) [application/zip]
`wordpress-3.9.2-ja.zip' に保存中

100%[======================================>] 6,802,737    231K/s 時間 29s

2014-08-10 12:08:19 (231 KB/s) - `wordpress-3.9.2-ja.zip' へ保存完了 [6802737/6802737]
ダウンロードしたファイルを解凍。
[root@www2465uo wordpress]# ls
wordpress-3.9.2-ja.zip
[root@www2465uo wordpress]# unzip -qq wordpress-3.9.2-ja.zip
[root@www2465uo wordpress]# ls
wordpress  wordpress-3.9.2-ja.zip
あれ、wordpress ディレクトリができちゃった。というわけで、一つ上のディレクトリに移動してもう一度。
[root@www2465uo wordpress]# ls
wordpress  wordpress-3.9.2-ja.zip
[root@www2465uo wordpress]# rm -f -r wordpress
[root@www2465uo wordpress]# mv wordpress-3.9.2-ja.zip ..
[root@www2465uo wordpress]# ls
[root@www2465uo wordpress]# cd ..
[root@www2465uo www]# rmdir wordpress
[root@www2465uo www]# unzip -qq wordpress-3.9.2-ja.zip
[root@www2465uo www]# ls
cgi-bin  error  html  icons  wordpress  wordpress-3.9.2-ja.zip
MySQLにデータベースを作る
WordPress 用の空のデータベースを作る。ユーザは wordpress にする。
[root@www2465uo www]# mysql -u root -p
Enter password:
Welcome to the MySQL monitor.  Commands end with ; or \g.
Your MySQL connection id is 12
Server version: 5.1.73 Source distribution

Copyright (c) 2000, 2013, Oracle and/or its affiliates. All rights reserved.

Oracle is a registered trademark of Oracle Corporation and/or its
affiliates. Other names may be trademarks of their respective
owners.

Type 'help;' or '\h' for help. Type '\c' to clear the current input statement.

mysql> USE mysql
Reading table information for completion of table and column names
You can turn off this feature to get a quicker startup with -A

Database changed
mysql> SHOW TABLES;
+---------------------------+
| Tables_in_mysql           |
+---------------------------+
| columns_priv              |
| db                        |
| event                     |
| func                      |
| general_log               |
| help_category             |
| help_keyword              |
| help_relation             |
| help_topic                |
| host                      |
| ndb_binlog_index          |
| plugin                    |
| proc                      |
| procs_priv                |
| servers                   |
| slow_log                  |
| tables_priv               |
| time_zone                 |
| time_zone_leap_second     |
| time_zone_name            |
| time_zone_transition      |
| time_zone_transition_type |
| user                      |
+---------------------------+
23 rows in set (0.00 sec)

mysql> INSERT INTO user SET user="wordpress", password=password("wordpress"), host="localhost";
Query OK, 1 row affected, 3 warnings (0.00 sec)

mysql> exit
Bye
[root@www2465uo www]# mysql -u root -p
Enter password:
Welcome to the MySQL monitor.  Commands end with ; or \g.
Your MySQL connection id is 13
Server version: 5.1.73 Source distribution

Copyright (c) 2000, 2013, Oracle and/or its affiliates. All rights reserved.

Oracle is a registered trademark of Oracle Corporation and/or its
affiliates. Other names may be trademarks of their respective
owners.

Type 'help;' or '\h' for help. Type '\c' to clear the current input statement.

mysql> CREATE DATABASE wpdb;
Query OK, 1 row affected (0.00 sec)

mysql> GRANT ALL ON wpdb.* TO wordpress;
Query OK, 0 rows affected (0.00 sec)
mysql> exit
Bye
これでいいかな。
WordPressのインストール
blog.lathercraft.net/index.php にアクセスして WordPress をインストール。データベース名などを指定して続行すると、wp-config.php が書き込めないとでた。パーミッションの関係なんだろうけど、手動でコピペしてもいいらしいので、そのとおりに /var/www/wordpress/wp-config.php を作った。
改めて続行すると、あっという間にインストールは終わった。前にやった時もそうだけど楽でいいな。
さあ、ログインしてみよう。
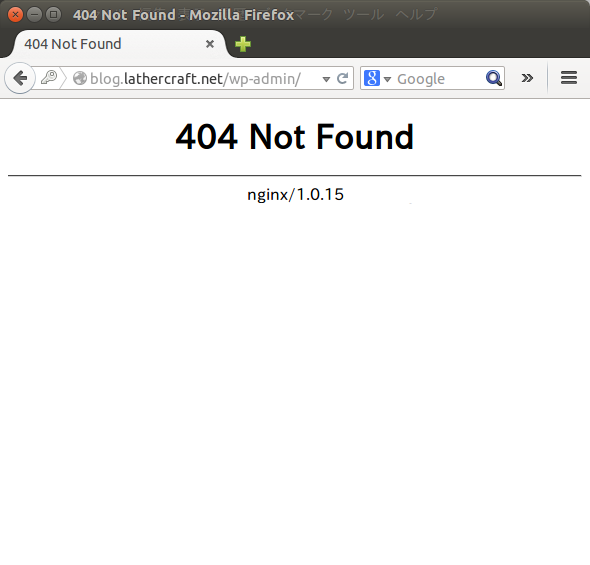
なんでだーーーーーー!
……ああ、力尽きた……